

How To Install A Vinyl Window
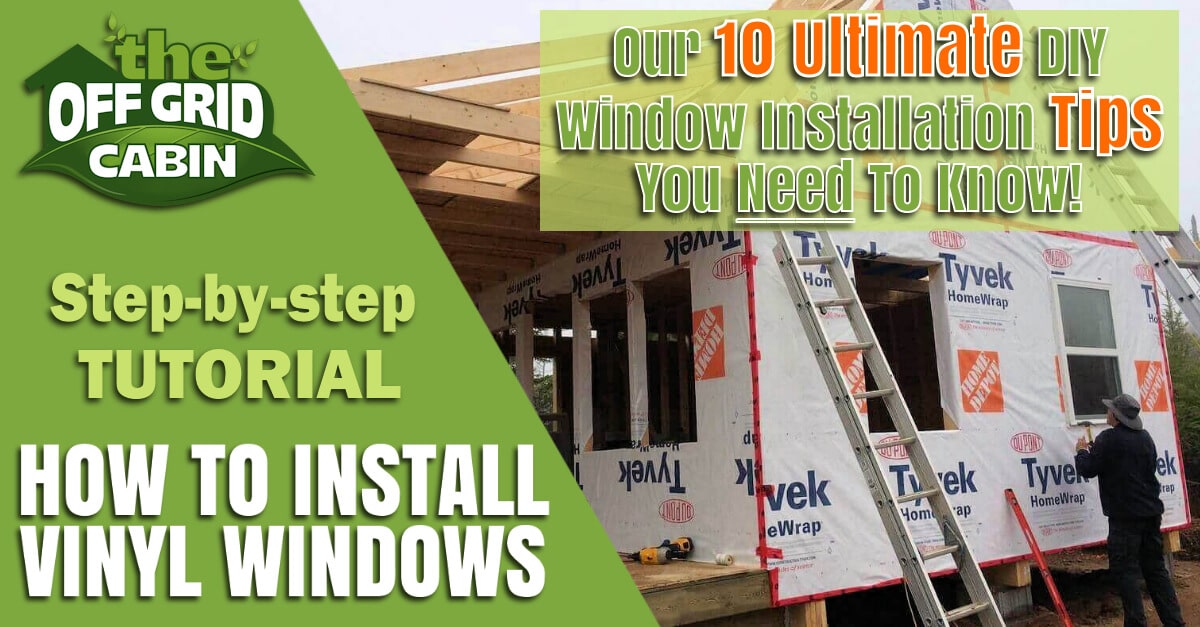
Our 10 Ultimate DIY Window Installation Tips You Need To Know!
It's finally time to install the off grid cabin's vinyl windows and as e'er y'all're getting the front end row seat!
We're going to share with y'all every tip nosotros know for installing vinyl windows that won't leak, will assistance reduce heating/cooling costs and final the life of your habitation.
If yous've been following along with the build of our cabin so you've already seen us frame the rough openings for the windows and doors.
When framed properly, as we taught in our framing section here, the actual window and door installation is quick and easy.
In fact, we installed all nine vinyl windows plus the exterior front door in just one day.
Nosotros'll cover the entry door installation tomorrow.
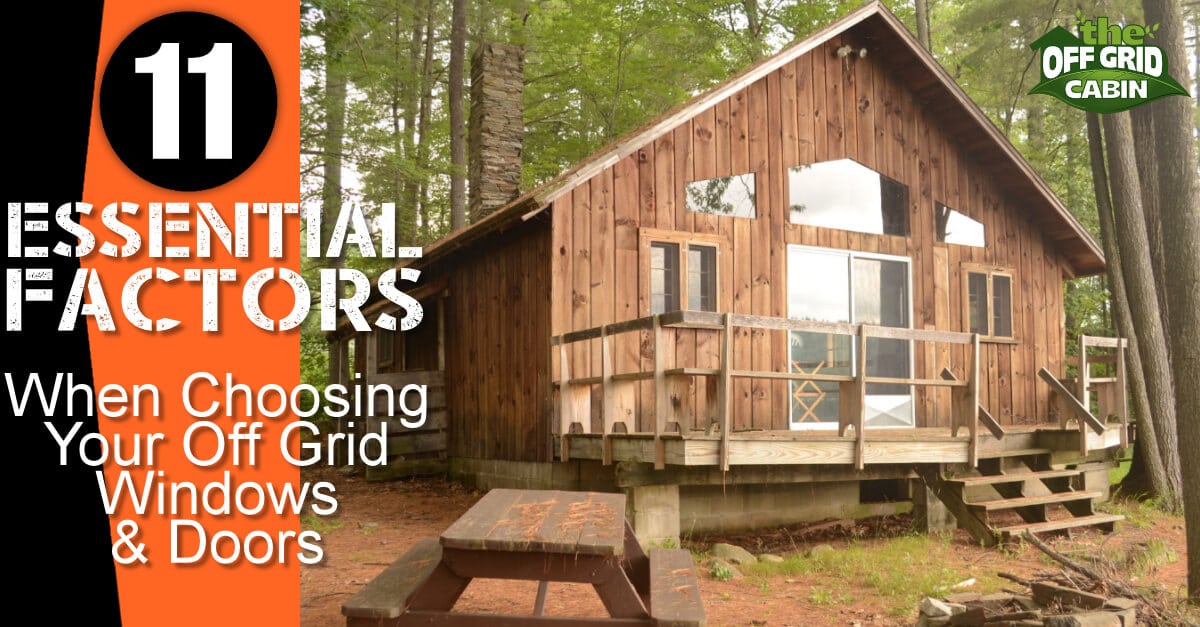
For the full detail behind why we choose vinyl windows for our off filigree home be sure to check out our post chosen xi Essential Factors When Choosing Your Off Grid Windows and Doors.
The Windows We Choose
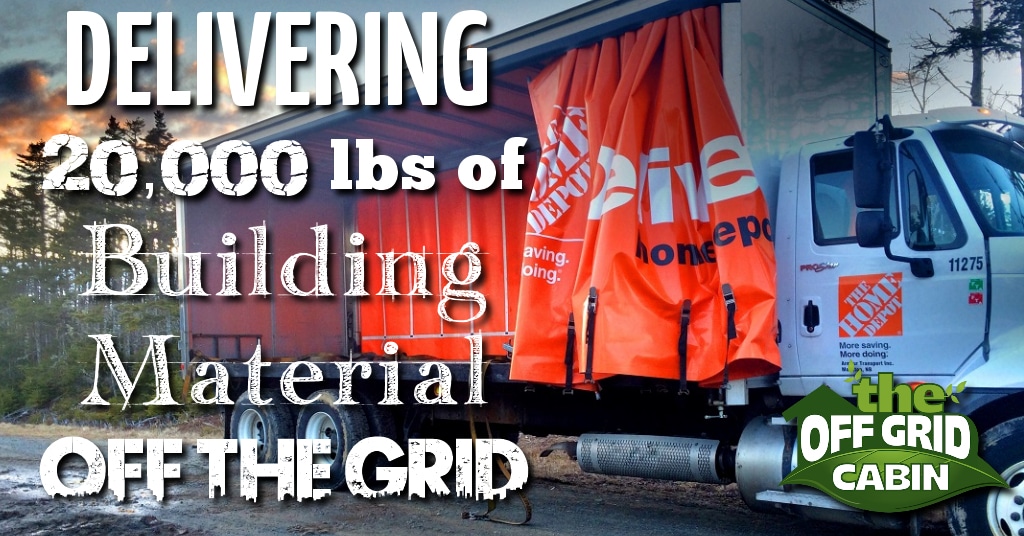
As yous may retrieve from our post Delivering 20K lbs Of Edifice Materials Off Filigree we purchased all our edifice supplies from Home Depot including all nine windows, the front entry door and the two sliding pocket doors.
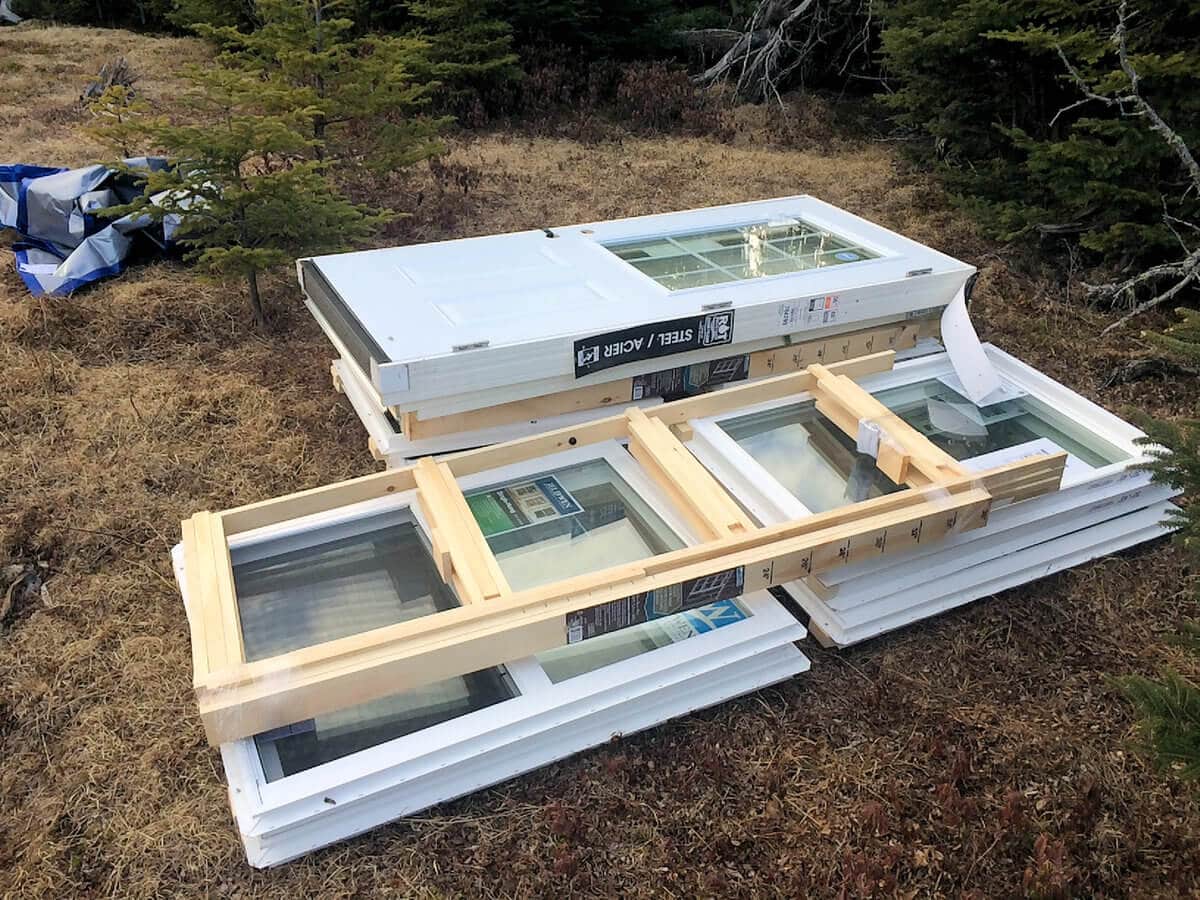
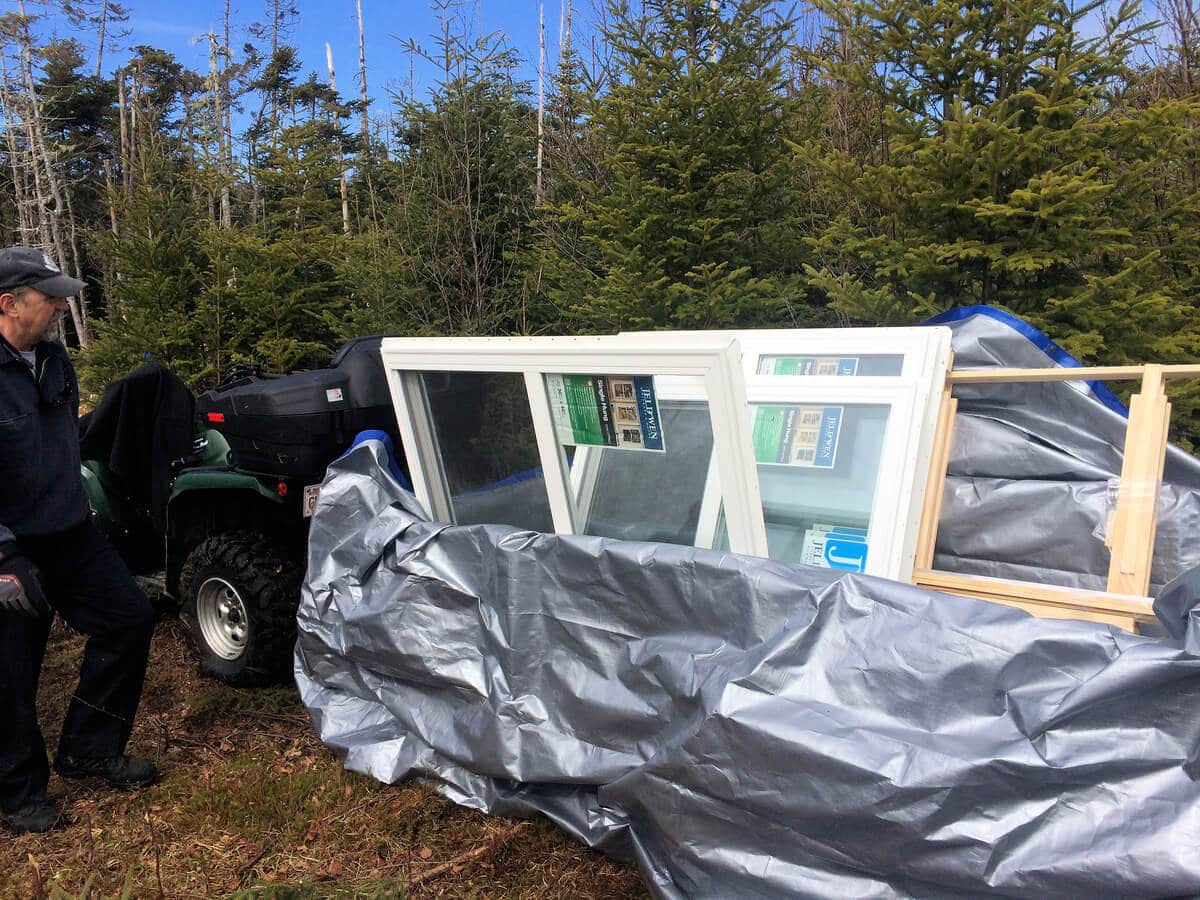
The windows we choose are fabricated by JELD-WEN.
Nosotros cull to go with Free energy STAR qualified low-E unmarried-hung vinyl windows with fiberglass mesh screens. These are excellent windows for our environs here in Nova Scotia and stand up up to the chilly winters and hot summer very well. They require little to no maintenance and will not neat or warp every bit some wooden windows exercise.
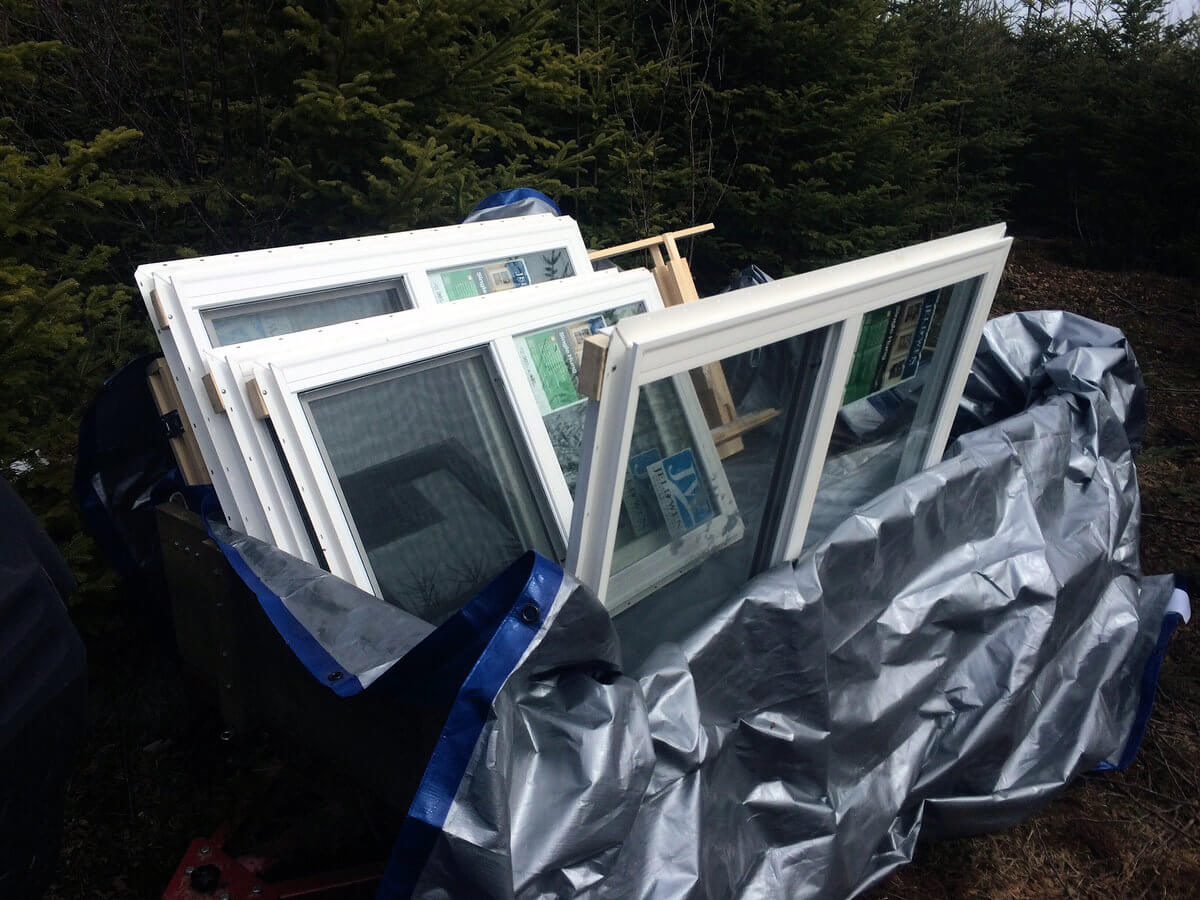

Nosotros loaded all our edifice materials, lumber, tools, gravel, windows and doors past hand onto a small folding utility trailer and towed it with an ATV downward a trail we also blazed past hand!
Size and Cost of Our Windows
We have a full of nine windows.
The following sizes are all in inches.
1 Loft Window: 30X36 – $185.00
1 Kitchen Window: 30X36 – $185.00
1 Bathroom Window: 24X36 – $149.00
1 Master Bedroom Window: 30X36 – $185.00
5 Living room Windows: 2 front 30X48 – $209.00 (total $418.00) 2 side 36X48 – $219.00 (total $438) and 1 rear window 36X48 – $219.00.
Total Price = $1779 (before tax)
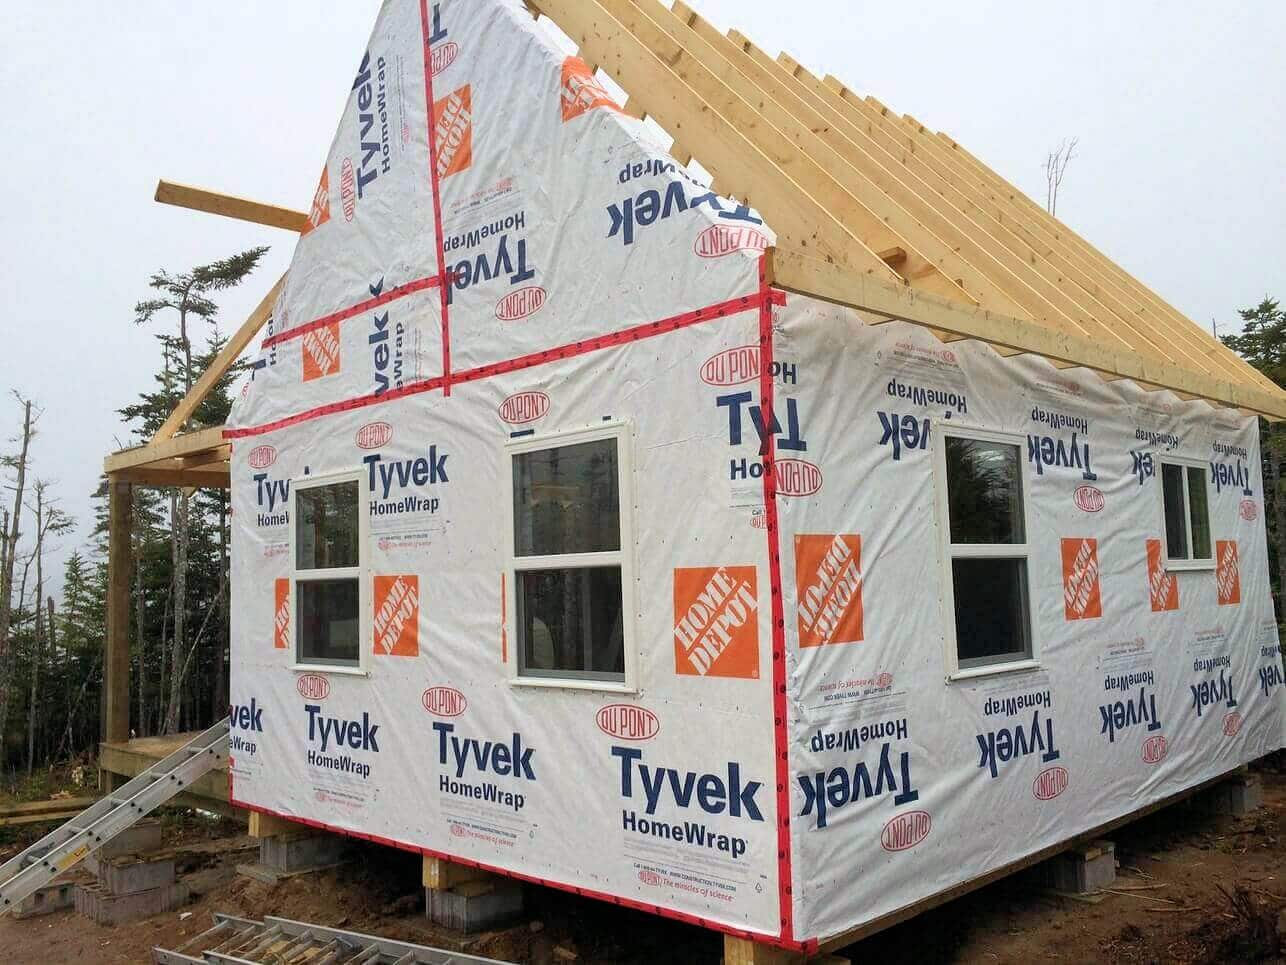
Here is a quick review of three dissimilar methods for framing rough openings for windows.
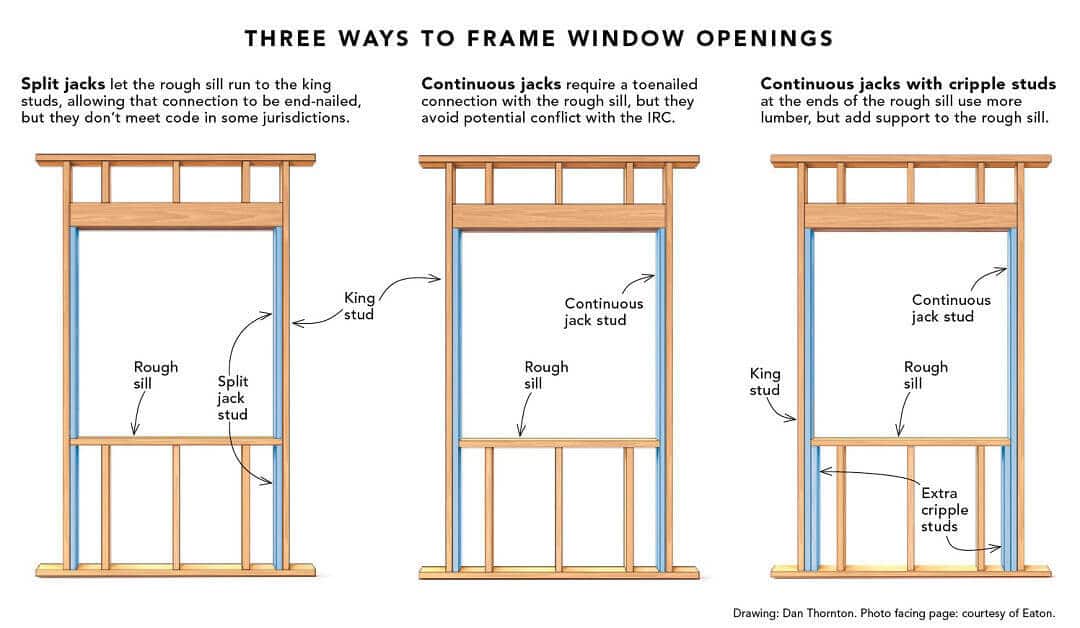
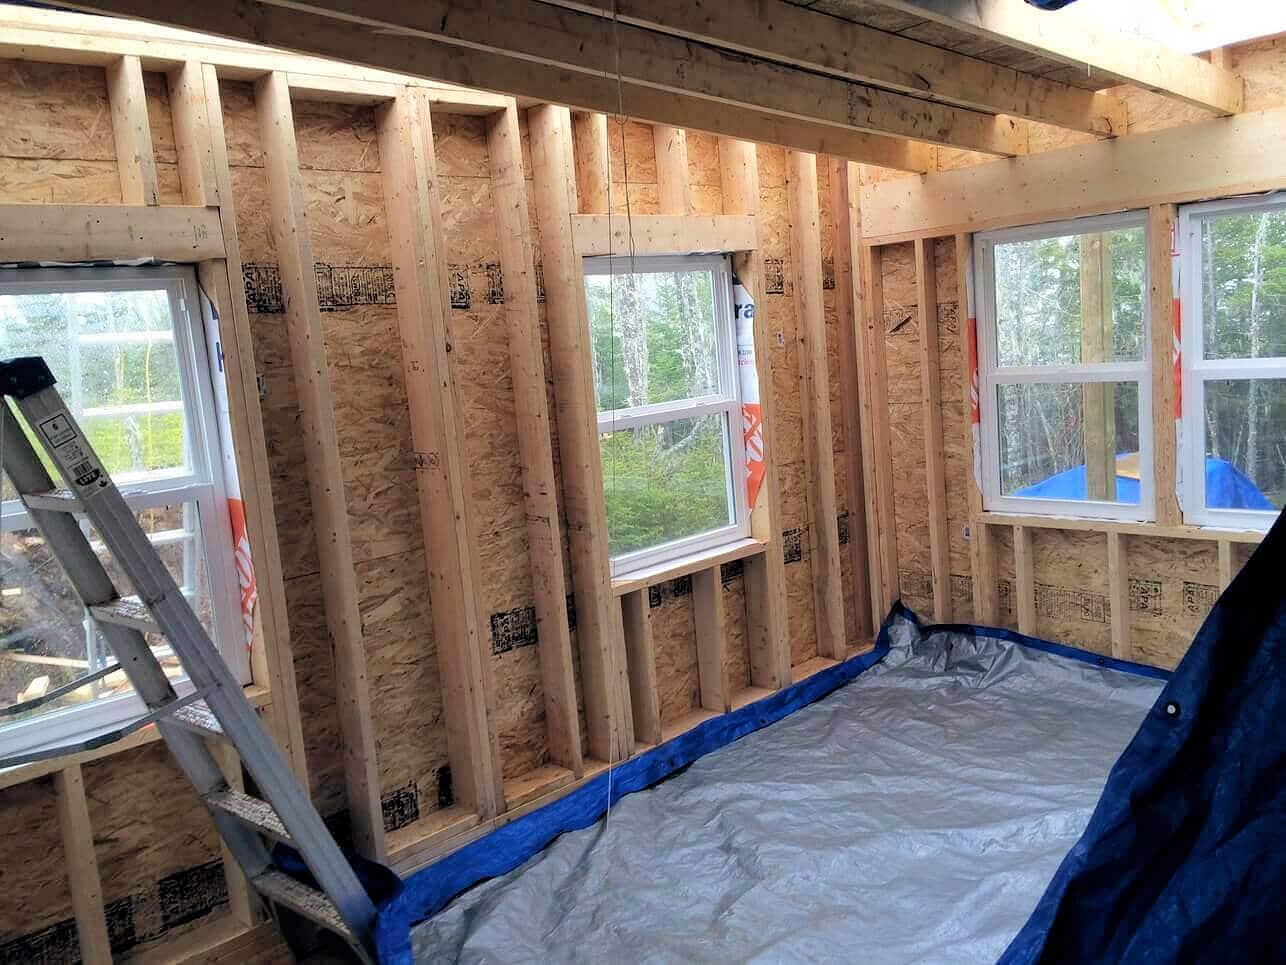
You tin see in the panoramic views below how we framed our windows using the extra cripple method.
CLICK TO VIEW A FULL SCREEN VERSION
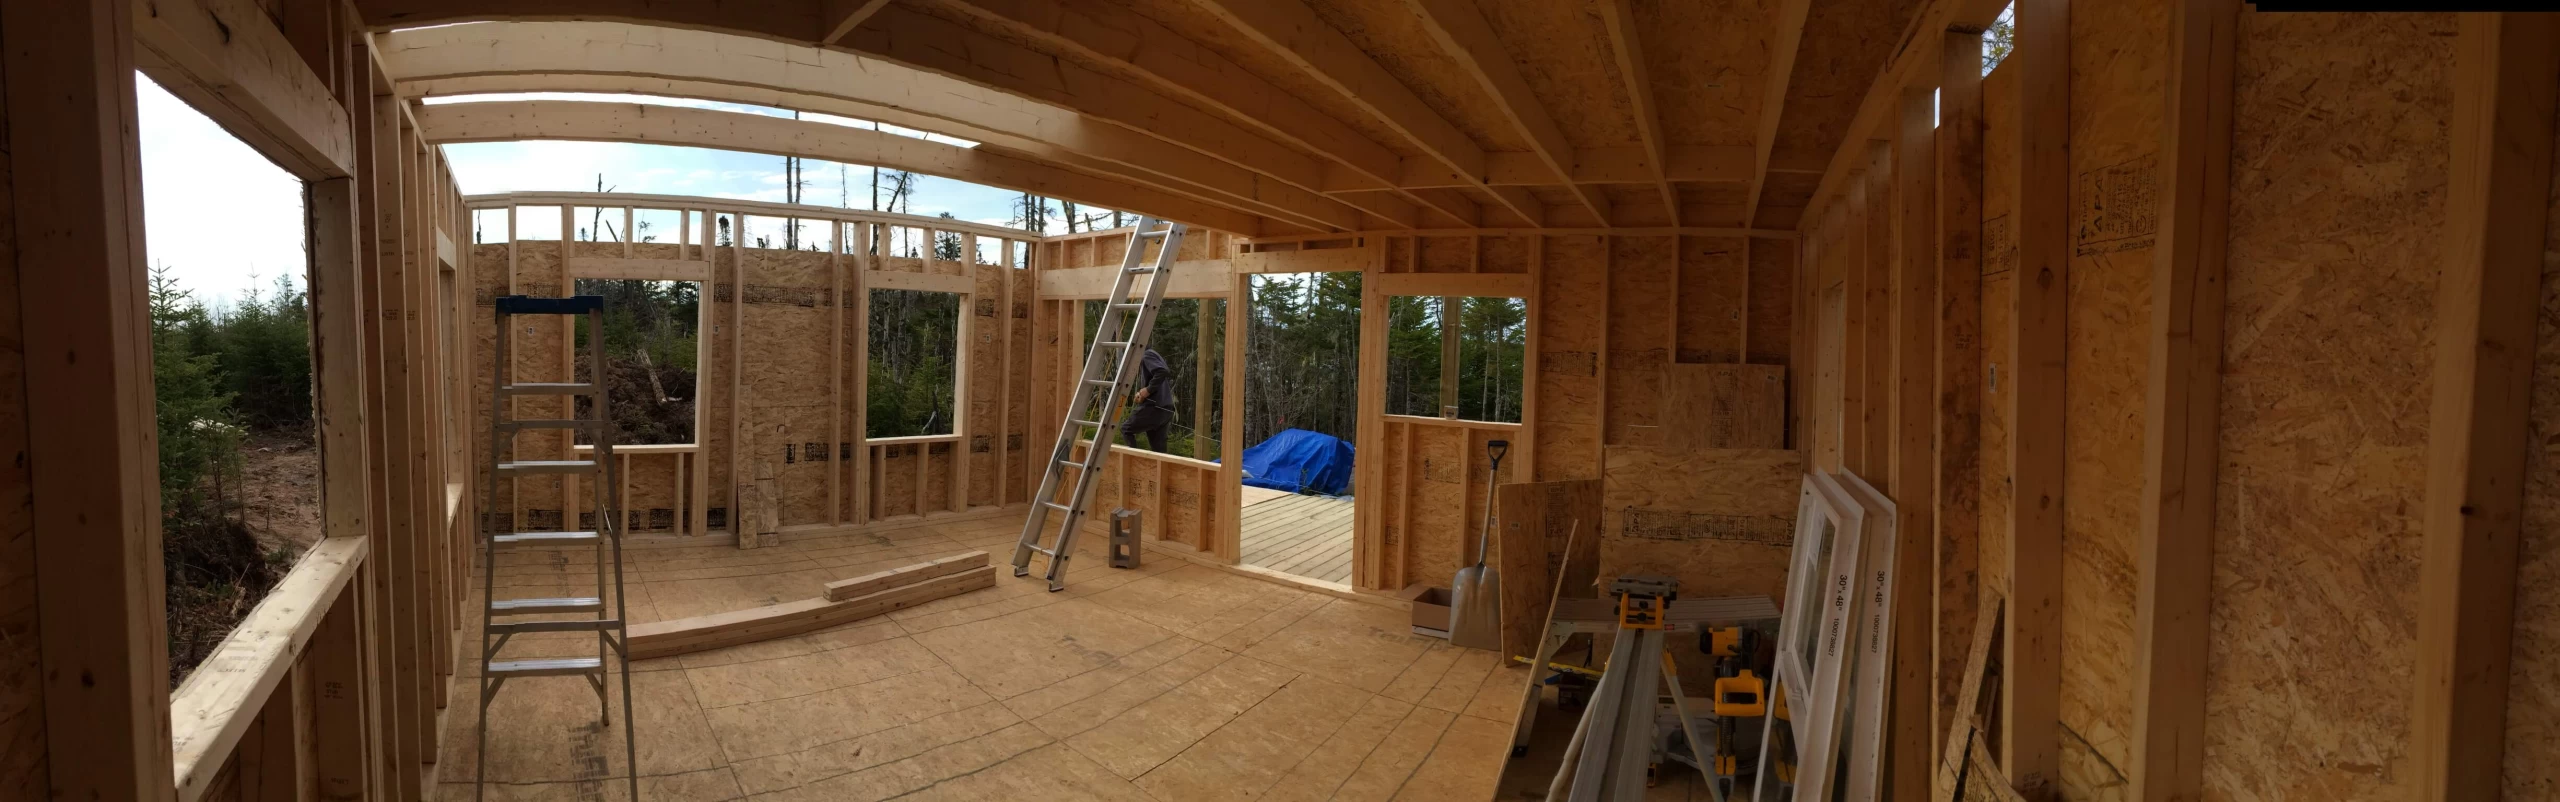
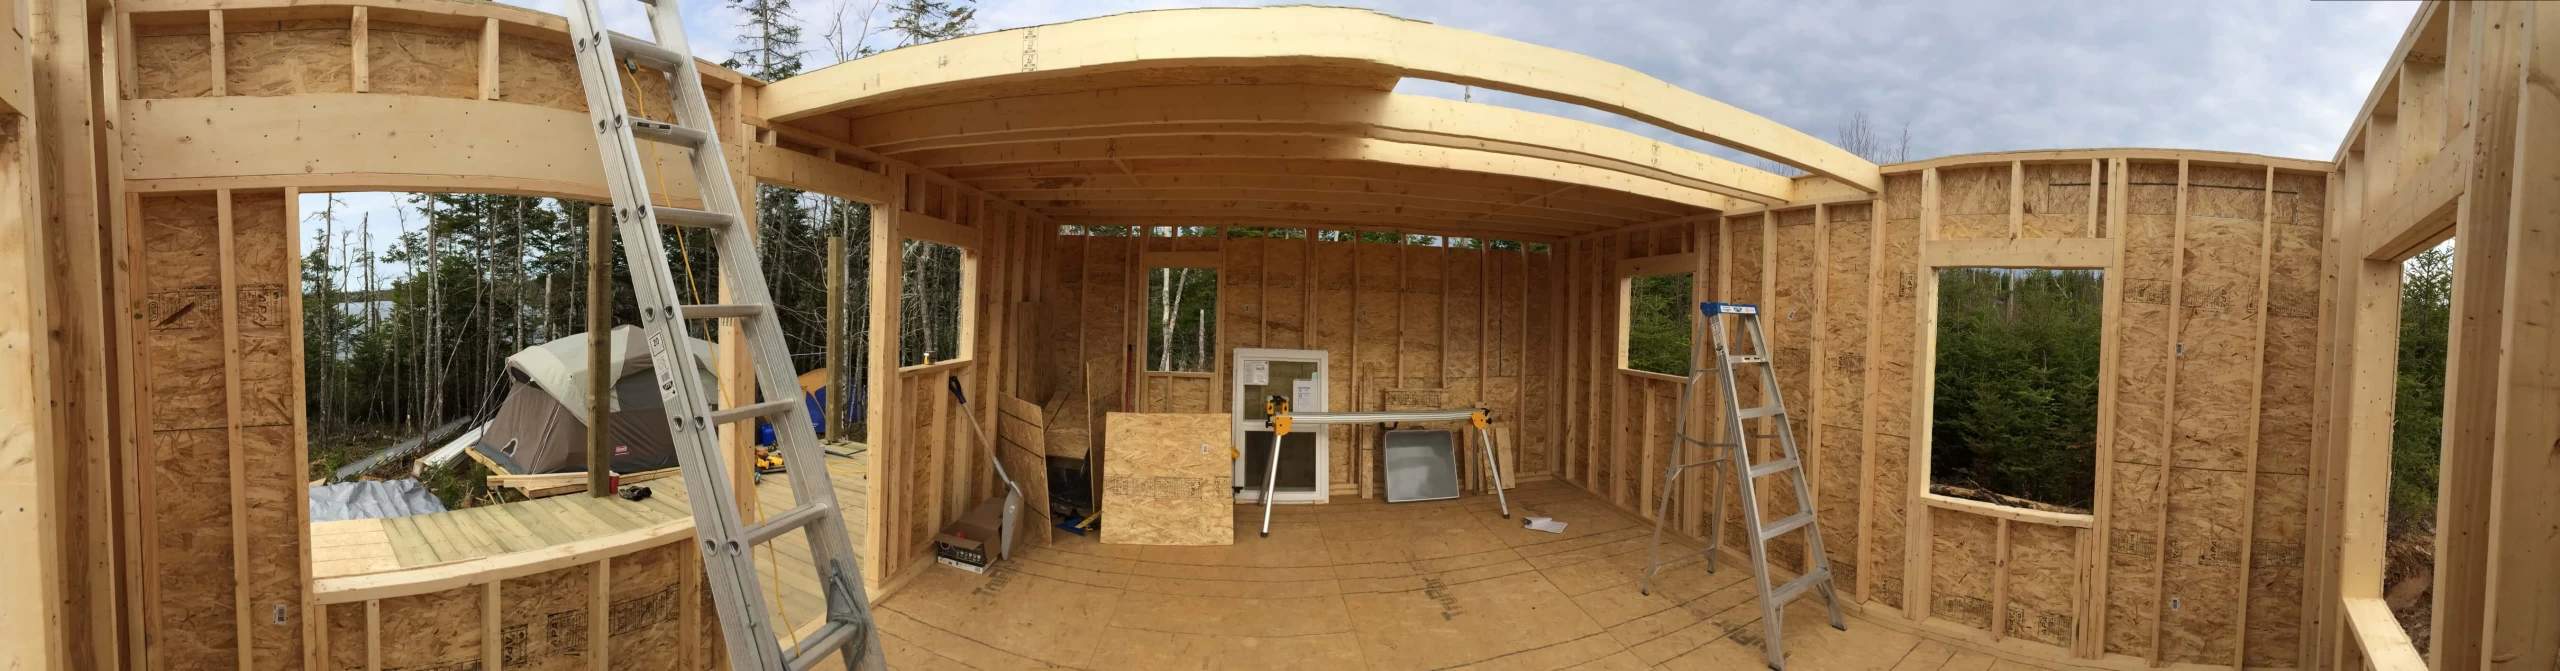
You can see the entire iii twenty-four hour period framing process of the off grid cabin here.
Assemble These Tools Before You Begin
To make the window installation process quick and easy gather upwards the following tools and supplies before you begin.
Please note: many of these links beneath are chapter links, so when yous purchase whatever of these items through the links on this page, nosotros volition receive a small commission that is used to help go on The Off Grid Cabin running. Nosotros've found that Amazon has splendid product descriptions, detailed personal reviews, and some of the lowest prices bachelor.
These are all products that we either personally own, use or support and if you purchase items through these links, you have our sincere thanks!
- Level
- Pry bar
- Hammer
- Utility knife
- Wood shims
- Tape measure
- Expanding foam
- Cordless drill & drill bits
- Caulking & caulking gun
- Vinyl drip cap (if required)
- 1 ¾" Galvanized roofing nails
- Spray adhesive for additional flashing or building wrap
A quick discussion on nails: Choose nails designed stand upwards to the weather condition in your area when purchasing nails for your vinyl window installation. Nearly outdoor nails are designed for this blazon of work, so stick to the nails that accept been proven to withstand corrosion. Aluminum and galvanized nails both work well. Which is what we used. Stay away from stainless steel for this application as it can bit when hammered and somewhen rust and stain the window and siding.
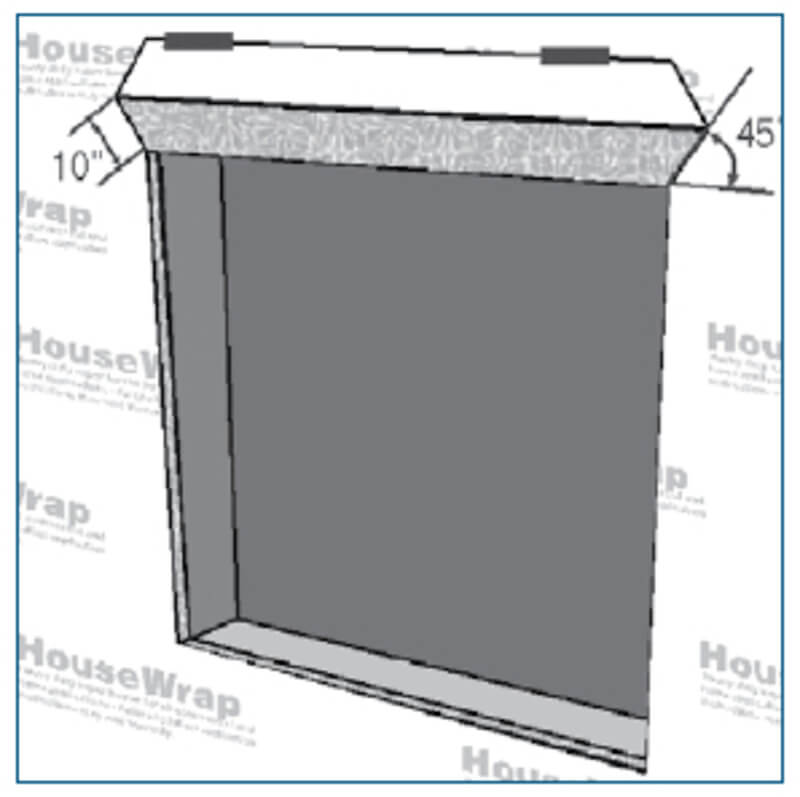
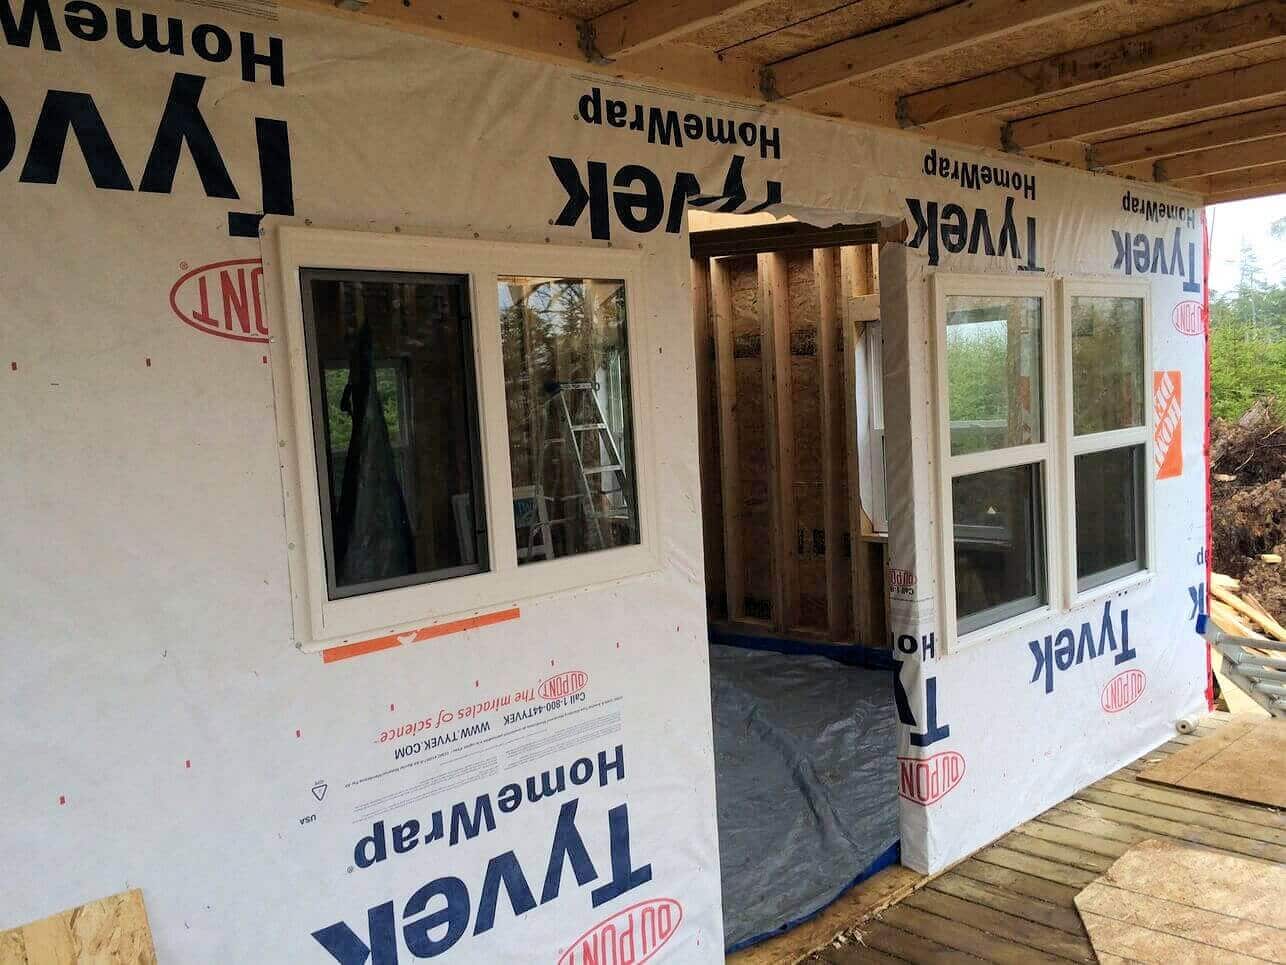
The installation procedure for each window is exactly the same. We already have the Tyvec on, cut to 45 degrees at each corner and folded in so that it covers all four edges of the roughed in window frame which helps further protect the sill from moisture. More details on this below.

Accept the appropriate window(s) placed near the rough opening and exam the dry out fit to ensure the rough opening is suitable. For window opening that are college up it may be easier to laissez passer the window out through the opening instead of trying to climb a ladder while property the window.

Step-By-Pace Window Installation
Stride 1: Inspect the window before you lot install information technology. Bank check for cracks, splits or missing sections in the nailing fin longer than 6" and make sure at that place are no holes or cracks within ½" of the window frame.
Step 2: Ensure the window opening is square by measuring from corner to corner. There should exist no more ¼" difference for windows larger than 20 sqft and no more than than 1/8" for windows smaller than xx sqft.
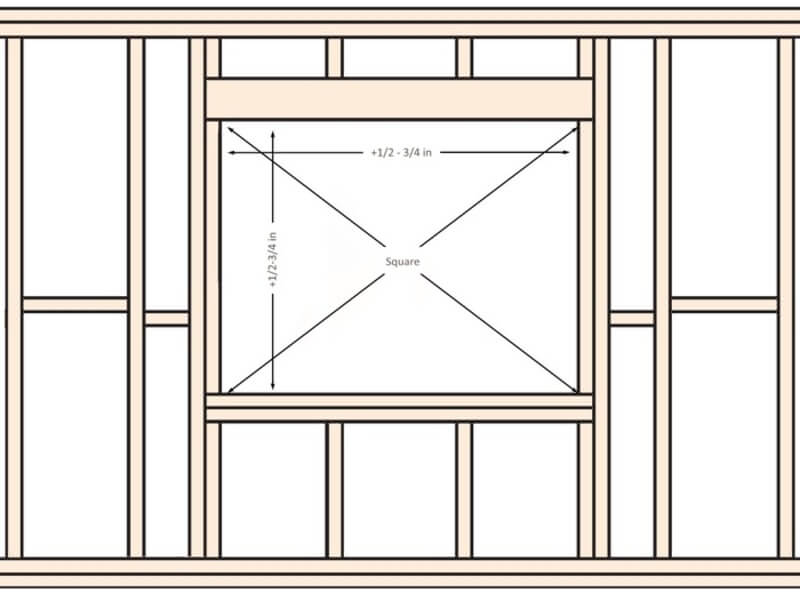
For vinyl windows like ours that have a nailing fin make sure the width and height of the rough opening is approximately ½" larger than the window. As well, brand sure the sill opening is level and not crowned or sagged. It is advisable to slightly slope the sill from the inside out.
The inside of the sill should be approximately three/eight" higher than the outside or approximately a v degree gradient.

Here'due south a unproblematic three footstep method for shimming the sill to produce a five degree gradient if yous've already framed your rough openings or your putting in replacement windows.
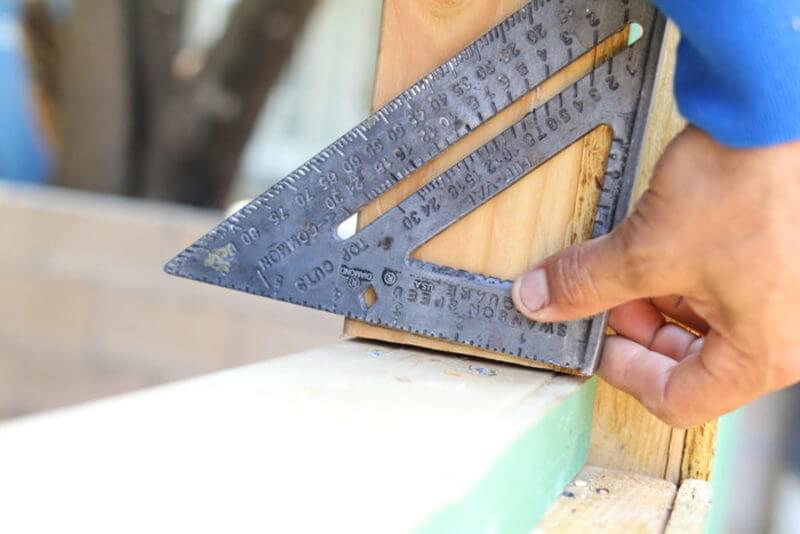
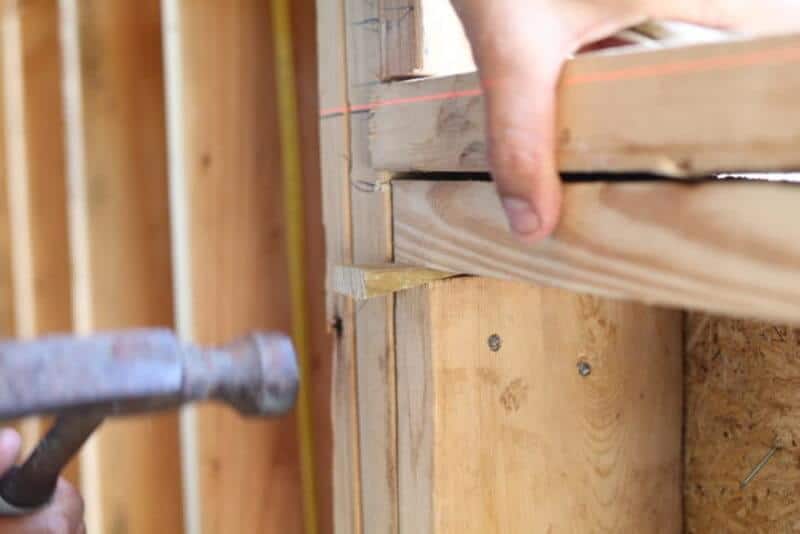
1 – Measure and mark the 5 degree slope you wish to make.
2 – Use a reciprocating saw to cut the studs along the 5 caste mark yous made.
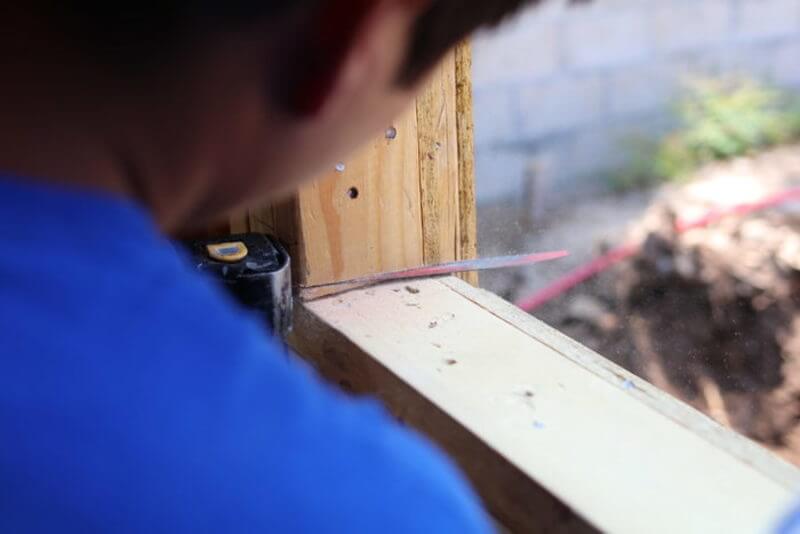
3 – Insert a wooden shim to secure the sill at a 5 degree bending.
Step 3: Prepare the sill by folding in the Tyvec to protect the inside edges of the roughed in window frame.
You tin also shiplap additional building wrap and use a spray adhesive to secure information technology. We just tucked all four corners of the Building wrap back within the rough opening. We'll be installing vinyl drip caps on all the windows when we put the vinyl siding on in a future post.
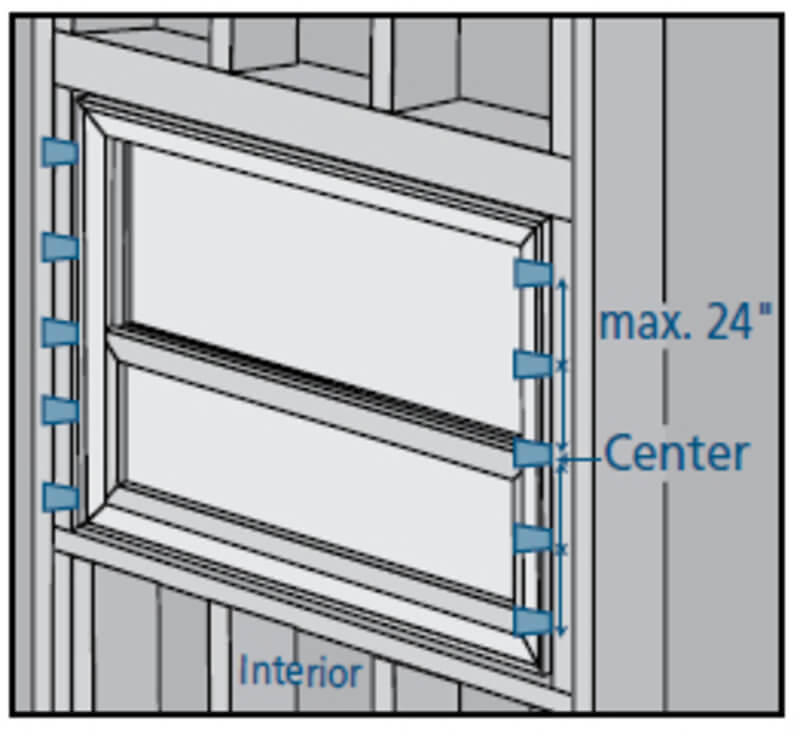
Step 4: Identify the window in the rough opening and temporarily fasten the window with a boom through a nailing fin hole between 3" – 7" from the top corner. Insert the shims along the sides, between the vinyl window frame and the studs. Align the shims with the predrilled holes or iii" – 6" from the corners and at viii" intervals (max 24").

Inspect the window for foursquare, level and plumb and accommodate with the shims every bit needed.
Spike the window through the side jambs predrilled holes and shims.
Footstep 5: Finish nailing the exterior nailing fin.


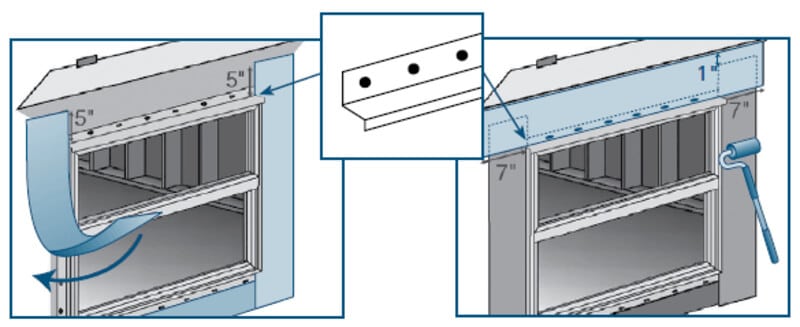
Step vi: To farther weatherproof the window installation in extreme atmospheric condition condition areas, cut 3 pieces of six" self-agglutinative flashing. Ane header piece fourteen" longer than the header. Two side pieces 12" longer than the sides. Spray adhesive/primer to the nailing fin, capsule and building wrap at the sides and caput of the window.
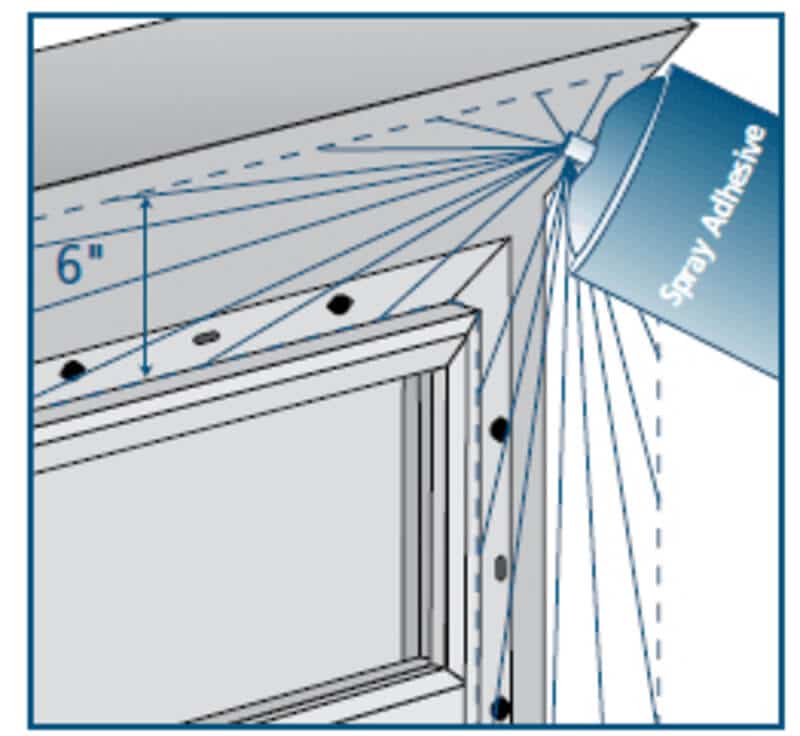
Braze the additional two side pieces starting 5" above the header. Next, install the baste cap, which should extend ½" on each side. Lastly install the header slice and roll everything apartment with a j-roller.
Note: Yous'll encounter us install the vinyl window flashing when we install the siding.
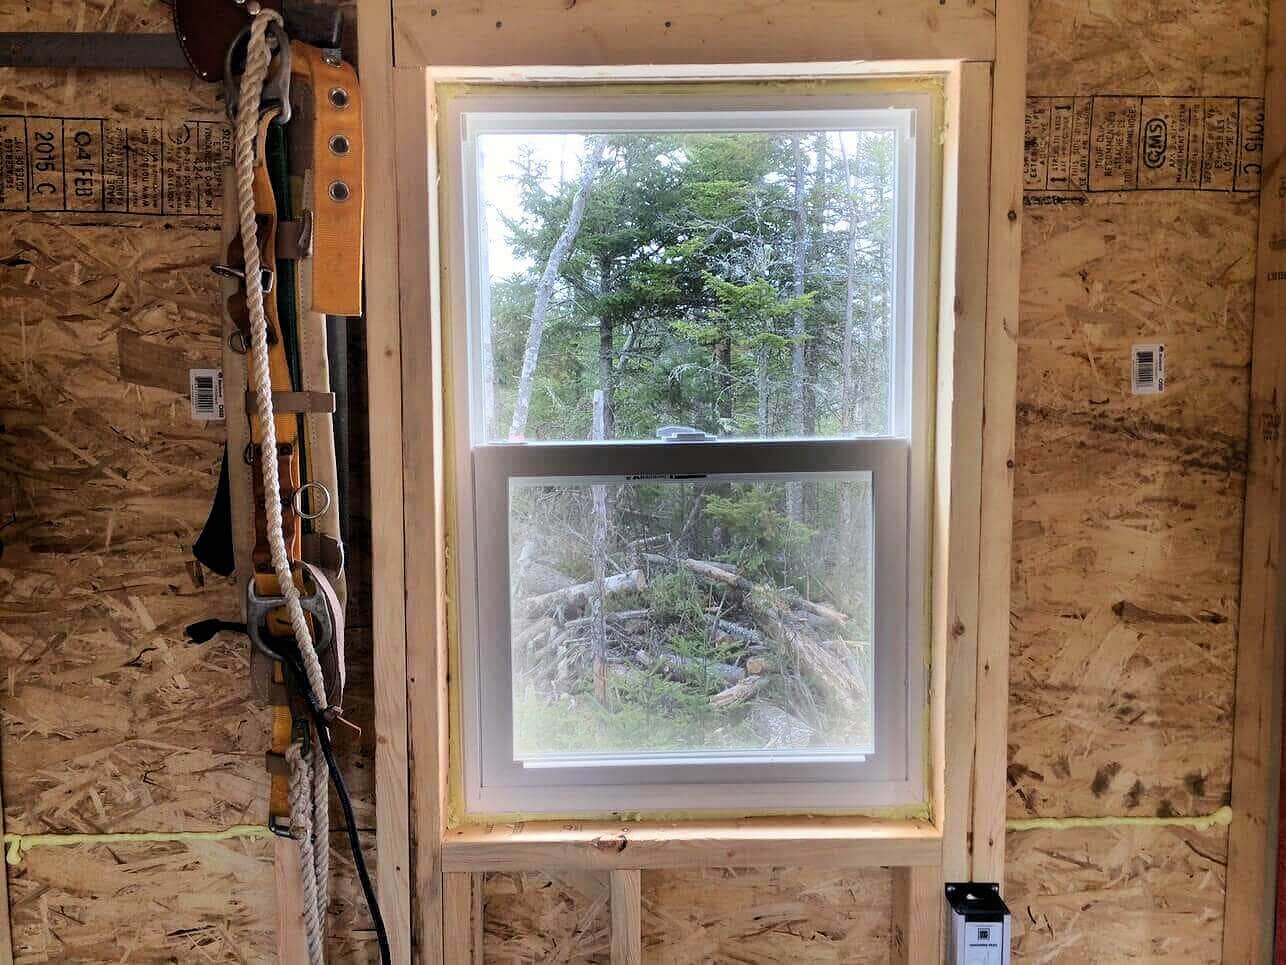
Finished with the window installation within.


Step 7: From the inside, fill up in any air gaps between the vinyl window frame and the studs, the lesser sill and the height header with the appropriate foam sealer.
TIP: We used Great Stuff Pro Windows & Doors which is specifically designed for this application. This detail sealing cream won't expand, and bow/warp the window frame like regular expanding foam will.

Each window took us approximately 30 minutes to install, shim and finish nailing downwards.
Finished with the window installation outside.

Note: If y'all're installing vinyl replacement windows the procedure will exist exactly the same in one case the old window(s) is removed.
Window Installation Determination
There's a lot that goes into selecting the appropriate windows for your off grid build merely the installation procedure itself is quite a simple i.
The key takeaway here is that the rough opening built during the framing phase is a crucial step to ensure a smooth installation.
Know the verbal size of each window earlier yous even begin framing.
While you tin can make changes later, it's far easier to frame information technology right the start time.

Do it correct the start time!
Be sure to frame your openings larger past the amounts we specified to a higher place and remember to follow the manufacturer'southward recommendations. We're off grid edifice enthusiasts, not building experts remember so always follow the manufacturer's guidelines.
In the next post nosotros'll show you lot the front end door installation with the exact steps to take to ensure y'all have a perfectly weatherproof, smooth operating front entry door.
Your Turn...
And then, are you ready to install windows like a pro on your own?
Permit us know in the comment section at the bottom if y'all retrieve you tin practice information technology!
If you're not already following the build be sure to visit our How We Build The Cabin section so y'all tin can check out the build right from the start!
For all our Pinterest pinners out at that place here'southward a special pin for you!


2 Comments
Source: https://theoffgridcabin.com/how-to-install-vinyl-windows/
Posted by: florescuse1944.blogspot.com
I have to concord with the nailer. Makes things much easier much quicker. Thanks for this. A huge assist in edifice my retirement dream.
These x ultimate DIY window installation tips are vivid, and I am glad they are shared here. I will ask my colleagues if they have any other suggestions that they want to share on this website.